Showing posts with label Mendel. Show all posts

Monday, April 11, 2011

Building a Spool

After the other night's test print it has become clear that a spool is really required to stop the filament getting tangled and keep an even draw on the extruder. This weekend I used up some of the odd's and end's I had kicking around the workshop to build one.


I used some 1/4" plywood, 3/4" dowel rod, some old bearings, some steel rod and scrap 4x2.
The New Spool


In hindsight the bearings may have been a bad idea, its so friction free that it will freely spin for several minutes after I give it a good heave. I've had to force the stand up close to the bearings to introduce some friction into the system.


Compulsory Action Shot
Unraveling the coil of filament I had and winding it on to the new spool is not a task I'd wish on anyone. There was at least two and half hours of manually untangling the various 'knots' that had formed - it was like the worlds worst telephone cord! Then there was at least 90-minutes of winding it on to the spool. Throw in two failed attempts, multiple curse words and you had a whole Sunday evening of fun. Still the results should give better prints at the end of the day!


Thursday, April 7, 2011

Updating Gen6 Electronics Firmware

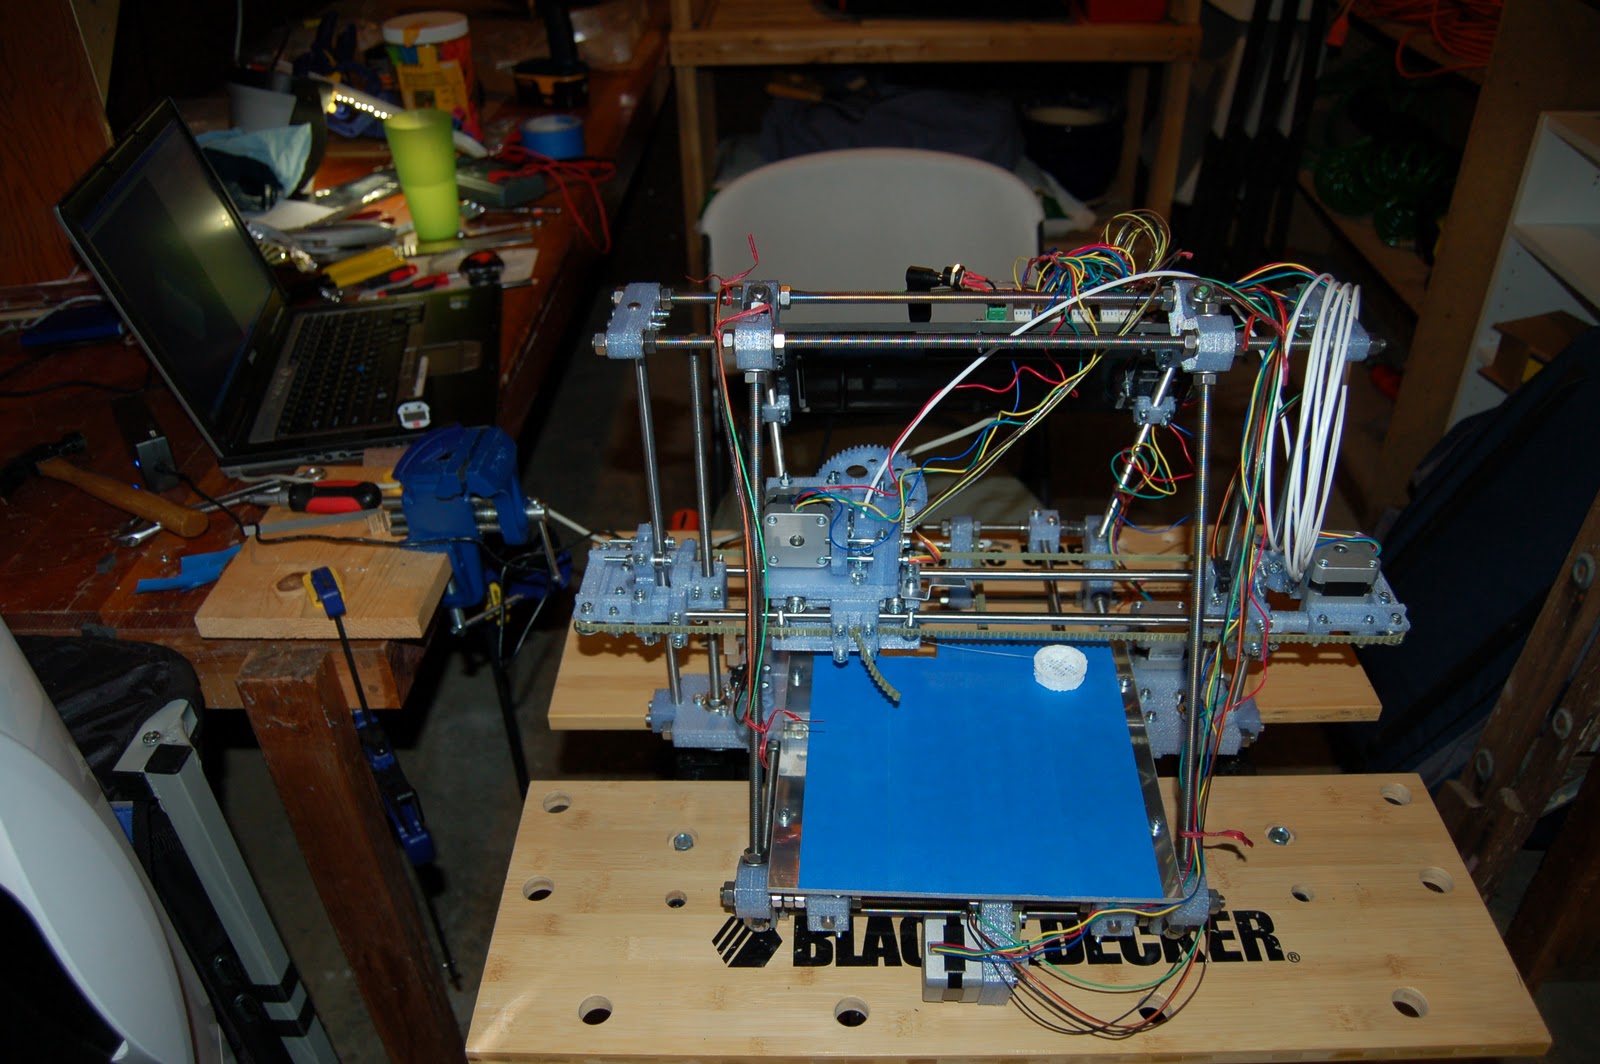
This post focuses on how to update the firmware on the Gen6 Mendel electronics.


Install Arduino Tool-Chain:


First you'll need the correct tool chain to be able to compile, link and download the firmware to the Gen6 board. Download and install the Arduino tools from here: Arduino Tools

You'll also need to install the Sanguino add-on from here: Sanguino Tools

Get the Latest Gen6 Firmware:


The latest firmware currently resides here: Gen6 FW

The firmware includes all the source code, so you can make any changes or modifications required. My specific changes are listed below.


Compile the FW Project in the Arduino Tool-Chain:


Run the Arduino tools and 'Open' the project by navigating to the latest firmware directory and opening the file 'FiveD_GCode_Interpreter.pde'.


Once you've made any changes you need, press CTRL+R to compile and verify the code. If you get any compilation errors, fix them now.


Upload the Build to the Hardware:


Once you get a clean build you can upload the code to the board. Power up the Gen6 board and connect the USB. I would also suggest that you open RepSnapper and connect to the printer and just jog the bed before attempting an upgrade, otherwise you'll get a communication failure error from the Arduino tools.


Verify that under the 'Tools->Board' menu you have 'Sanguino' selected. Also under the 'Tools->Serial Port' make sure that you have the correct COM port selected.


Now you can press the 'Upload' button (Right pointing arrow on the tool bar), this will compile the code and then attempt to upload the code to the Gen6 board.


If you get the following error from the Arduino tools: 


Problem uploading to board. See http...
Binary sketch size: 23982 bytes (of a 63488 bytes maximum)
avrdude: stk500_getsync(): not in syinc: resp=0x00
avrdude: stk500_disable(): protocol error, expect=0x14, resp=0x51


Try opening RepSnapper and jogging the bed again before shutting the RepSnapper tools (don't turn the printer off), then try the upload again. 


Once the upload completes you can close the tools and power cycle the hardware.


My Specific Changes:


As I mentioned previously, I have different drive pulleys on my stepper motors. This required that I recalibrate my steps/mm calculation in the firmware.


In 'configuration.h' under the section #ifdef Mendel (around line 163 in FW from Jan-2011) at the end of the pulley descriptions I added this section:


  #ifdef MCMASTER_10XL_PULLEYS
  // define XYZ parameter of McMaster 10-tooth XL-series pulleys
  // Added by JMB - 29-Oct-2010


    #define X_STEPS_PER_MM   31.484 //31.641   
    #define X_STEPS_PER_INCH (X_STEPS_PER_MM*INCHES_TO_MM) // *RO
    #define INVERT_X_DIR 1
    
    #define Y_STEPS_PER_MM   31.599 //31.394
    #define Y_STEPS_PER_INCH (Y_STEPS_PER_MM*INCHES_TO_MM) // *RO
    #define INVERT_Y_DIR 1
    
    #define Z_STEPS_PER_MM   2689.682
    #define Z_STEPS_PER_INCH (Z_STEPS_PER_MM*INCHES_TO_MM) // *RO
    #define INVERT_Z_DIR 0
    #endif

I also added the following line (around line 82) where the configuration is determining which pulleys are being used:

  #define MCMASTER_10XL_PULLEYS

The board should now be configured and programmed with the latest version of firmware, Happy Printing!

Wednesday, April 6, 2011

Leveling the X-axis and the Bed

Tonight's main focus was on leveling the X-axis and the bed to try to correct this continual Z-offset that keeps occurring. Last nights attempt to adjust the Z-flag had helped but it was still occurring.


I started by verifying that the Y-rods were level, which they were. Then I used those as a reference to measure the distance between the X-rods. There was a delta between the two ends of a few tenths of mm. Given that 0.1mm variation in extruder height can make a difference between good first layer adhesion and not, this needed to be corrected.


I loosened the tensioning pulley on the Z-belt and manually adjusted each Z-screw until the reading on the calipers was the same for each Y-rod to front X-rod distance. Then I tightened everything back up making sure that nothing moved. When it was all back together I reverified the measurements to make sure nothing had moved.


I then used a similar technique to set the height of the bed from the Y-rods. This was a loooong process as each adjustment changed the other spring heights slightly. Once they were all the same I could proceed to verify the bed against the extruder nozzle. It was fairly level now, but did require some minor adjustments to bring the separation between the nozzle and bed even in all corners.


I also discovered something interesting with the printed 'W' bed springs. They don't apply even force to the bed. I had them running parallel with the bed, but I found that on the top of the spring was not always flat and applied more pressure either before the bolt or after (depending on how the top was distorted), changing the bed height very slightly. I decided to rotate the springs 90-degrees to be perpendicular to the bed, so their top surface has less contact along the length of the bed. This appears to help these slight bed distortions.


I then was able to get on to some more test prints. I dialed down the flow rate to 1200 (from 1300), the print quality was very good. Possibly one of the best to date. The first layer still had too much flow, so I may need to play with the first layer settings. As the print went on, the higher layers got more ropey, I put that down to how I have my spool of filament. It doesn't turn very easily and after some time printing the force required to pull filament off the spool is too much for the extruder - unless I manually turn the spool a bit. Must get a better spool!


The print continued to pause nearly every layer - just like last night, so I did roll-up my sleeves and dive into the G-Code. Skeinforge appears to be generating the deprecated M108 code (old code to control the extruder). A quick search and replace removed them all and the GCode printed without issues. I need to add M108 to my replace file.


I also updated my Gen6 Firmware to the latest version that came out earlier this year. Tomorrow I'll write a detailed article on how to upgrade the firmware and some of the changes I made (these for my own benefit so I can figure out how to do it again when the next release comes out!)

Tuesday, April 5, 2011

Tweaking Skeinforge Begins Again

Tonight was the first night since the move (and replacing the extruder!) that playing with Skeinforge's settings began again in earnest.


First things first, I wanted to correct this continual negative Z-offset that keeps occurring after a few prints. My current theory is that this is caused by the Z-flag not having a parallel edge causing it to cut the IR beam in minutely different places each time. First task for the evening was to remove the flag and verify if the end was square - it wasn't. A few seconds with a file sorted that out. 


Over the course of the evening the negative Z-offset still occurs, but it is definitely not as significant as it was previously. I think tomorrow I'll work on verifying that the X-rods are still level. They may have got knocked out of kilter during the move.


As I mentioned previously I'll be using the Skeinforge settings from mendel-parts.com as the starting point for my tweaking.


I copied the defaults into the '.skeinforge' directory in the users folder. Just using these settings as is doesn't appear to work very well on my Mendel. The feed rate of 50mm/s and  flow rate of 1400mm/s does not appear provide sufficient  flow, resulting in lots of missing threads on the test pieces and the infill gets very thin in places.


Notching the filament as it travels into the extruder shows that it is moving sporadically during periods when it should be flowing quickly and freely - e.g. around the perimeter of the object. I don't think my sprung pinch-wheel is the problem as it appears to flow freely when I run the extruder from RepSnapper. I think that the flow rate is too high for my melt zone. 


I think that the filament is being fed in too quickly for the hot end to melt it fast enough to keep a constant flow. My first tweak is then to slow down the feed rate from 50mm/s through 40mm/s to 30mm/s. This appears to give fairly consistent filament feed now. However, the extruded filament is clearly two thick in places. So I'll need to play with the flow rate and bring that down to get everything back in balance.


A quick test with the flow rate at 1300 (from 1400) gives reasonable results, but I've had better, so more tweaking needed there. Also, it appears to generate GCode that causes RepSnapper to hang once per layer and need to be kicked. Not sure why that one change should cause that, but if it keeps doing it I'll roll up my sleeves and start digging in the GCode.


Saturday, April 2, 2011

New Workshop is Up and Running - I'm Back in Business!

It's been a few months since my last post due to the house move. But I can now say that the move is complete, the 'Honey-Do' list is all done - at least all the niggly things for now - and the new workshop is organised and up and running. I can now get back to tweaking my Mendel.


The nice thing about the new house is that one of the garage bays had already been converted to a workshop with benches, pegboard and storage - which saved me some effort.


As you can see, still have to find a home for the drill press, at the moment it's living beneath one of the benches.


There's plenty of lighting and plenty of storage and work-surfaces.


Still need to find a home for my son's bikes, but at least they are fairly mobile!


Today's first Mendel task was to change the blue painters tape, re-level the bed and test the extruder still worked.


Since I last had a chance to play with my Mendel, Camiel at mendel-parts has switched to using Skeinforge as his G-Code generator. He's having some good success and has posted his settings in the downloads section on his website. I thought I'd use his values as my starting point going forward, since my Mendel is very similar to his build Mendel's.


I only had to time to run a quick test cube. The first layer went down well, although I'm still having problems with my Z-Axis zero setting getting lower with time - need to look at that when I get the chance, probably something better can be done with the flag. However, above layer five, it started to break-down. Not sure if the feed setting isn't high enough, or if the extruder is skipping or something else. 


I didn't get a chance to play more today and investigate. Now the workshop is up and running I'll be able to tinker around with it in the evenings and get things dialed in. Look for more updates shortly.

Friday, November 26, 2010

Which GCode Generator to Use?

Once you have something cool to build in STL format, you have to convert it into GCode format. This is essentially the series of commands the printer needs to be able to print each layer, but there are several different options for tools, so which one should I use?


RepRap Host Software


The RepRap Host Software not only controls the printer, but it will also convert STL files into GCode format. I must admit I haven't spent too much time investigating this as an option for two reasons. Firstly, the host software doesn't appear to work with the Gen6 electronics. The Gen6 sends some messages that the Host Software doesn't understand and I haven't really spent any time trying to figure out what and why. The second reason is that there are lots of parameters to configure and the documentation and forum posts indicate that a lot of it is no longer used. I'm too keen to be printing to figure out what' used and what isn't. Perhaps one day I'll get round too it.


RepSnapper


RepSnapper is another tool that both controls the printer and generates the GCode. It is very quick at generating GCode, although I haven't had much success with build quality with this tool yet. I'm not sure I understand all the configuration options yet.


Skeinforge


A Thing from Thingiverse processed through Skeinforge
Skeinforge is just a GCode generator, but it is incredibly complex. There are lots of configuration parameters allowing you to tweak nearly everything about the build. I've had a lot of success with prints generated from Skeinforge, they are usually very high-quality. It just takes some tuning to get it right. 


My current selection is to use Skeinforge for the GCode generation as it gives me a lot of control and its written in Python, a language I'm much more comfortable manipulating if I need too.  The only downside is it needs some fiddling around to get set-up correctly and the GCode it generates has some commands that Mendel doesn't like, as it expects a PWM driven extruder, not a stepper controlled one. I haven't figured out how to stop it generating these duff commands yet, so I've written a script to remove them. I also don't like the start-up code it creates, so my script fixes that too. 


I then use RepSnapper to control the printer and print the object. Still plenty of tweaking to do, but the results are fairly pleasing so far using PLA.

Poor Stepper Motor Choice

The stepper motors that I'd originally selected from Sparkfun were SM-42BYG011. These had 23NM of torque but it was quite clear that they weren't up to job, especially on the Z-Axis. They couldn't reliably turn the Z-axis and kept stalling out. The other problem was they kept getting very hot (too hot to touch!), in fact the extruder stepper got so hot that it deformed the plastic mounting plate during medium prints. 


As a result I had to change all the stepper motors out. This time round I beefed them up to 42BYGHW811 from Phidgets. No more Z-axis stalls and although the motors do get warm during a long print, they don't get burning hot. The only down side is that the audible chopping frequency is far more noticeable, probably due to the larger coils in the motors.


Next time I'll remember, more power is better! 

The Build Process

It took about 6-weeks to spec out and order all the parts to build my Mendel. The hardest part was finding all the metric parts in the US. McMaster was an invaluable source, but due to the minimum order quantity for most of the fasteners, it worked out to be more cost efficient to order one of the kitted parts from Mendel-Parts. Since I don't know anyone with a Mendel or other 3-D printer, I had to order the RepRapped parts from someone anyway, so it made sense to purchase the rest from there too.
Before: Mendel in Box


The stepper motors I ordered were SM-42BYG011 from Sparkfun, but as I found out later, these weren't up to the job.


The whole build took 2.5 days, including cleaning all the RepRapped parts. I took 3-days of vacation and built the whole thing in one go. It was very therapeutic! 


There were no major issues with the build, everything went smoothly. The biggest issue I had was with the X-carriage. The separation between the bearings was about 4-mm wider than the separation between the X-bars, so the bars were rubbing on the carriage and not riding on the bearings. This meant the carriage wouldn't move smoothly. A little work with a Dremel and a file sorted that out.


After: Finished Mendel with first print (and build devastation in workshop)
Another problem that I encountered was that one of the M8 trapped nut that the Z-axis rides on did not have it's threads cut correctly. This meant that one side of the Z-axis was very stiff. After completing the build I had to completely dismantle the Z-axis and replace the nut with a better made one. Next time I will check how the nut spins down the whole threaded rod before I trap it in the RepRapped parts.


Adventures in 3-D Printing

This blog is intended to document the various trials and tribulations I experience as I experiment with 3-D printing. I have built an open-source 3-D printer called a Mendel, see more here. It's built with Generation-6 electronics from Mendel-Parts, a single controller board that controls all the stepper motors and extruder.

The extruder is the latest geared stepper motor driven extruder but using drive gears printed on a commercial 3-D printer, also from Mendel-Parts.