Friday, November 26, 2010

The Build Process

It took about 6-weeks to spec out and order all the parts to build my Mendel. The hardest part was finding all the metric parts in the US. McMaster was an invaluable source, but due to the minimum order quantity for most of the fasteners, it worked out to be more cost efficient to order one of the kitted parts from Mendel-Parts. Since I don't know anyone with a Mendel or other 3-D printer, I had to order the RepRapped parts from someone anyway, so it made sense to purchase the rest from there too.
Before: Mendel in Box


The stepper motors I ordered were SM-42BYG011 from Sparkfun, but as I found out later, these weren't up to the job.


The whole build took 2.5 days, including cleaning all the RepRapped parts. I took 3-days of vacation and built the whole thing in one go. It was very therapeutic! 


There were no major issues with the build, everything went smoothly. The biggest issue I had was with the X-carriage. The separation between the bearings was about 4-mm wider than the separation between the X-bars, so the bars were rubbing on the carriage and not riding on the bearings. This meant the carriage wouldn't move smoothly. A little work with a Dremel and a file sorted that out.


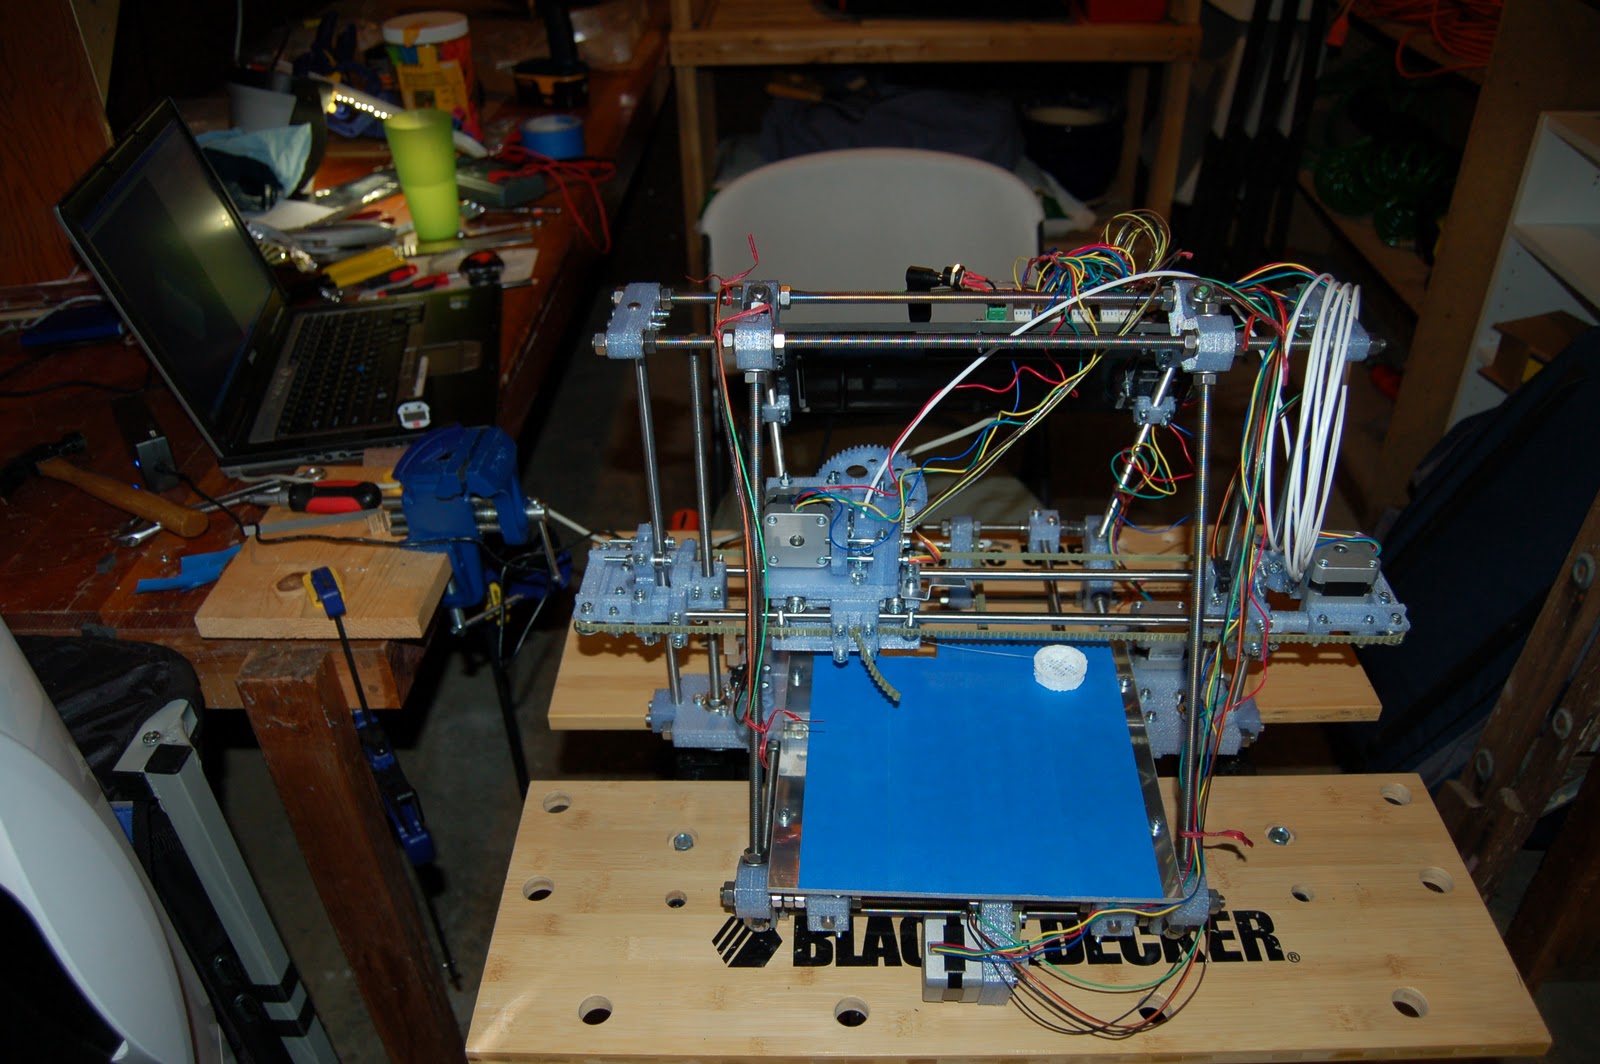
After: Finished Mendel with first print (and build devastation in workshop)
Another problem that I encountered was that one of the M8 trapped nut that the Z-axis rides on did not have it's threads cut correctly. This meant that one side of the Z-axis was very stiff. After completing the build I had to completely dismantle the Z-axis and replace the nut with a better made one. Next time I will check how the nut spins down the whole threaded rod before I trap it in the RepRapped parts.


No comments:

Post a Comment